A grinding noise from the motor, or a casing that feels hot after a ride, is your cue to run through simple ebike motor maintenance checks before assuming anything has failed.
Quick answer: Disconnect the battery, wipe the motor casing with a damp cloth, and check connectors and mounting hardware for looseness or corrosion. Loose wiring and fasteners are fair jobs for a home mechanic. Internal friction, motor work and controller work belong with a qualified service.
How much attention the motor needs depends on its type. Hub motors are generally low maintenance, and mid-drives typically need more attention. Our overview of motors covers the hub motor vs mid drive decision in full. This checklist covers the motor unit only, not drivetrain parts such as the chain and cassette.
Tools and starting conditions
Start every check with the battery switched off and disconnected. One maintenance guide says to turn off and disconnect the battery before cleaning, and the same habit makes sense before you handle connectors or wiring.
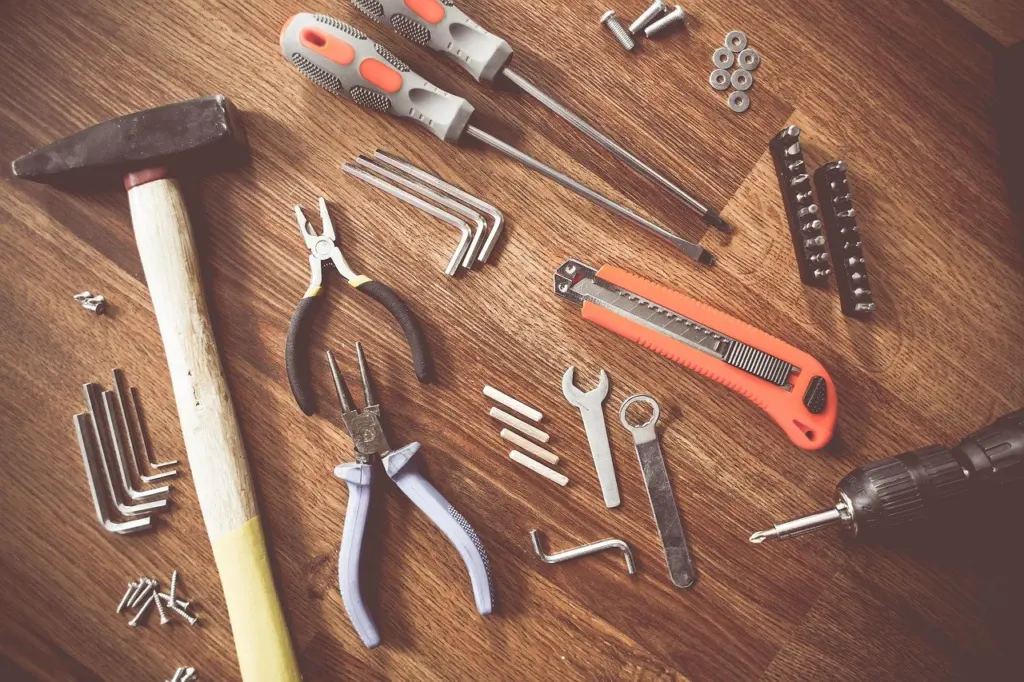
You need very little equipment. Hex keys, open-end wrenches and a damp cloth cover most of the checks below. A torque wrench and a multimeter are listed as optional tools. Buy them only if you plan to do hardware and electrical checks regularly.
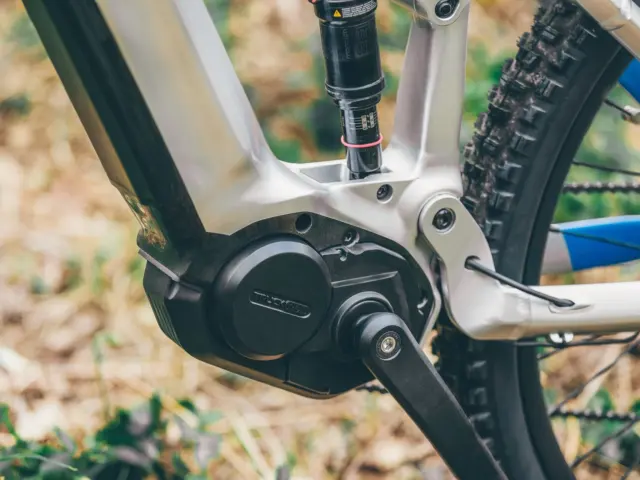
Know which motor you have before you begin. On a hub motor, the hardware to inspect is the axle nuts and torque arm. On a mid-drive, it is the mounting bolts that hold the unit in the frame.
Cleaning the motor housing and connectors
Cleaning is the simplest intervention and often removes the cause of a fault. It also lets you see the casing and connectors properly. Work in this order:
- Disconnect the battery. Turn the system off and remove power before any water goes near the motor.
- Wipe the casing. Use a damp cloth to gently wipe down the motor casing and avoid direct water jets on the motor.
- Keep hoses away. Avoid high-pressure hoses near the motor or controller.
- Look while you wipe. Note any cracked insulation, loose plugs or green and white deposits on connectors, then deal with them using the connector section below.
A motor’s IP rating indicates its level of waterproofing, so find it in your owner’s manual. Both guides above still advise against jets and hoses, so a good rating is not a licence to hose the motor down. Cloth cleaning is the safe default for any rating.
Routine checks and intervals
Most motor care is a short, regular look at connections and fixings, plus a periodic professional service. The table puts the supported intervals in one place.
| Check | Interval | Planning use |
|---|---|---|
| Connections for corrosion or looseness | Weekly | Fold it into your usual pre-ride routine so faults show early. |
| Motor mounting bolts and vibration | Monthly | A felt change in vibration is a reason to check hardware sooner. |
| Routine professional maintenance | Every 3 to 6 months | Suits riders who prefer a calendar reminder to a distance one. |
| Professional maintenance by distance | Every 1,000 miles for regular riders, 2,000 miles for light users | Suits riders whose mileage varies widely through the year. |
| Professional motor service | Annually | A minimum if you ride little and do no checks of your own. |
These figures come from one brand’s maintenance schedule and a motor care guide recommending annual professional servicing.
The first of those guides frames its whole weekly routine as a task of 15–20 minutes, so the motor part is brief. The intervals are guides rather than universal rules. Exact thresholds must come from each model’s and component’s instructions. If your owner’s manual gives a different interval, follow the manual.
Axle nuts, torque arm and mounting bolts
Loose hardware causes vibration and noise, and it is the cheapest fault to rule out. Check the fasteners by hand and with the correct tool, and do not guess at tightness. Professional servicing includes torque specification verification, which shows that correct tightness is a measured value and not a feel.
Tightening values for axle nuts and mounting bolts vary by motor and frame, so take them from your manufacturer’s documentation. A torque wrench is the way to apply them. If you cannot find a published value for your motor, ask the dealer instead of over-tightening.
Connectors, cables and waterproofing
Connectors are the most common weak point because they sit where moisture and vibration meet. The advice is to check that all electrical connectors are tight and free of corrosion. Press each plug fully home and look along the cable for damage.
Loose connections or wires can be fixed easily, so a reseated plug is a sensible first repair. Corroded pins are different. If the corrosion is visible and a clean reseat does not restore normal behaviour, have a dealer assess the connector, because moisture may have reached further than you can see.
For waterproofing, find your motor’s IP rating in the manual and treat it as a guide to how much moisture the unit is built to tolerate. Where connectors have been wet, make them part of the weekly look, not a once-a-year check.
Why the motor is making noise
A new noise is the motor telling you something, so investigate it before the next long ride. Grinding or rattling could indicate loose parts or debris inside the motor. Grinding or unusual noises also appear among wear symptoms. Work up the ladder:
- Stop and look. Switch off, disconnect the battery and check the casing for anything lodged against it.
- Check the hardware. Test the axle nuts and torque arm on a hub motor, or the mounting bolts on a mid-drive, for looseness.
- Turn the wheel or crank by hand. Friction or resistance in motor movement could suggest internal issues that need professional attention.
- Stop riding if the noise persists. An internal fault will not improve with use, so book a service.
When the motor cuts out or runs hot
Heat and random cut-outs are listed among the symptoms of a worn motor, but they do not always mean the motor is failing. Start with the cheapest explanations:
- Rest the bike. If it feels hot to the touch, give it a break before riding on.
- Inspect connectors and cable. Intermittent power loss often traces to a loose plug or damaged wire, which are the easier fixes covered above.
- Suspect the controller. Controller malfunctions can sometimes mimic motor issues, so read ebike controller explained to see how the two parts interact.
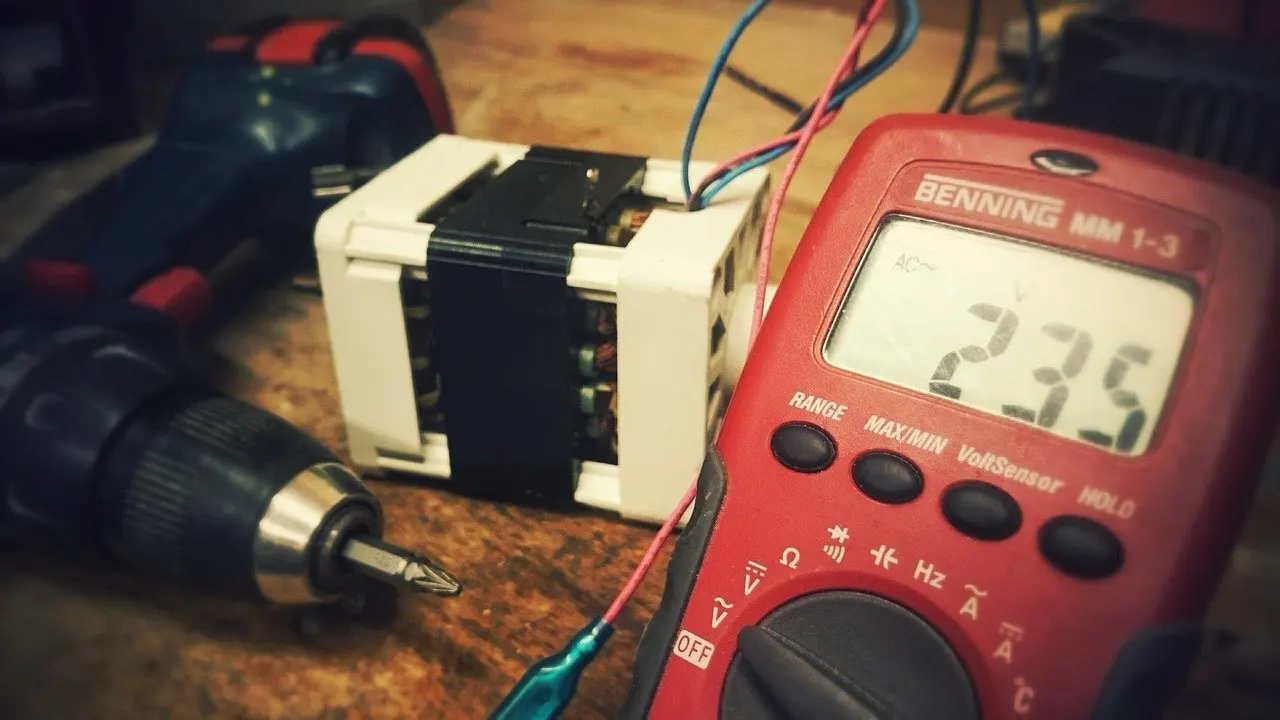
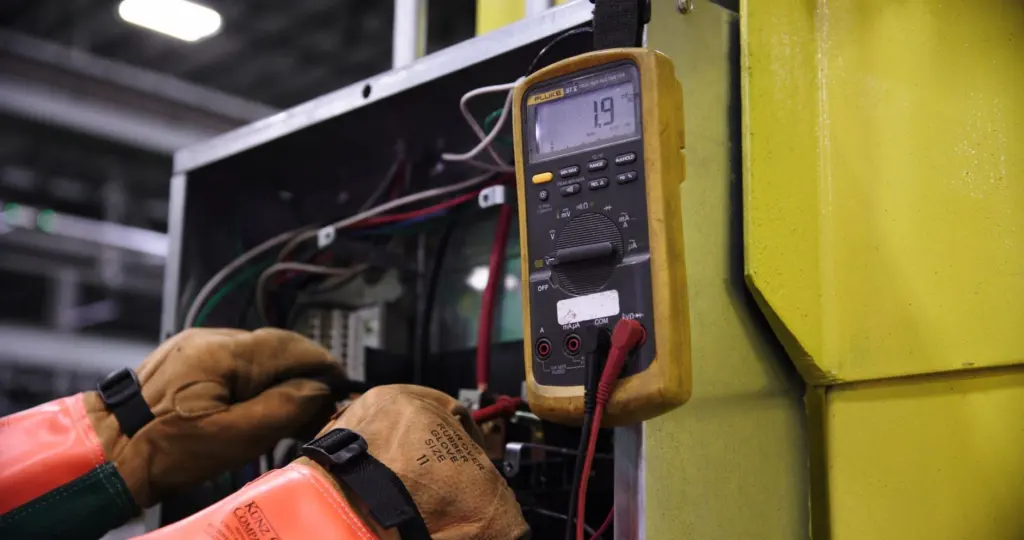
- Use a multimeter only if you are comfortable with it. It can confirm that a wire or connector is intact. An unclear reading is a signal to hand the bike over, not to keep probing.
If the cut-outs return after these checks, the fault is no longer a casual home repair. Repeated heat or cut-outs mean you should stop riding and book the bike in.
When to take it to a dealer or service centre
Take the bike in when the checks above do not explain the fault, or when the fault points inside the unit. Drivetrain or electrical diagnosis, motor or controller work, structural damage, and battery or charger concerns are all listed as work for qualified service. Internal friction, persistent noise and repeated cut-outs fit that description.
Do not replace a whole motor on your own judgement. Consult your e-bike’s manufacturer or a certified technician before replacing the whole motor. If a replacement does come up, the 36v vs 48v ebike motor comparison helps you judge the voltage side of the decision.
Frequently asked questions
How long does an ebike motor typically last?
One brand guide gives 10,000–15,000 miles for a hub motor and 15,000–20,000 miles for a mid-drive. Treat these as typical figures, not guarantees. Regular checks help you notice wear before it becomes a failure.
Do I need a torque wrench or multimeter?
Neither is essential. Both are listed as optional tools. A torque wrench suits anyone who wants to tighten axle nuts to a published value. A multimeter suits riders who want to test connectors and wires before booking a service.
Should a fault override my service schedule?
Yes. A safety-relevant fault overrides a routine due date, so do not wait for the next scheduled service if the motor runs hot, cuts out or grinds.