Learn how to install a rear hub motor on a bicycle: remove the wheel, check dropouts fit the motor axle, move the cassette, fit a torque arm, tighten axle nuts and route the cable. Dropout fit decides whether the swap is safe.
This guide covers only the physical wheel swap. For the wider choice of parts, the bicycle electric conversion kit hub compares what a complete kit includes, and the display, throttle and battery stages sit in how to install an ebike conversion kit.
The expected result is a motor wheel seated square in the dropouts, held by axle nuts and a torque arm, with the original gears running cleanly and the cable tied away from moving parts. If any step shows the frame cannot take the motor, stop there rather than forcing the wheel in.
Before you start
A rear hub swap needs a frame whose rear dropouts match the motor axle and a wheel built for the bike’s drivetrain. Checking these at the bench is cheaper than discovering a mismatch with the wheel half fitted.
- Motor wheel and manual: Keep the manufacturer’s installation instructions beside the bike. Bafang’s published guide, for example, gives step-by-step instructions for its G062 and G063 front and rear hub motor systems. Where a manual gives a tightening value for your motor, it overrides general advice here.
- Frame suitability: Read the frame or fork manufacturer’s guidance on motor use before buying. Some frames are not intended to carry a motor at the axle, and no accessory fixes that.
- Torque arm: Have a torque arm that fits the axle flats of your motor and the thickness of your dropout. It is not optional hardware.
- Tools: A repair stand, spanners or sockets that fit the axle nuts, a chain whip and lockring tool for a cassette (or a freewheel remover for a threaded freewheel), cable ties and a torque wrench if the manual states a value.
- Gear cluster: Know whether your bike uses a cassette or a screw-on freewheel, because the motor hub must take the same type.
If the frame is the problem, a drive that mounts at the cranks avoids loading the dropouts; see how to install a mid drive ebike kit for that route.
Swapping the rear wheel for a hub motor wheel
The steps below answer how to swap a regular rear wheel for a hub motor wheel, in the order that keeps the bike stable and the drivetrain clean.
Step 1: Lift the bike and remove the original wheel
Put the bike in a repair stand, or upside down on a protected surface, and shift the chain onto the smallest sprocket. That slackens the derailleur and makes the wheel easier to drop out. Release the brake if a rim brake limits clearance, loosen the quick release or axle nuts, lift the chain off the cog and let the wheel fall clear of the dropouts.
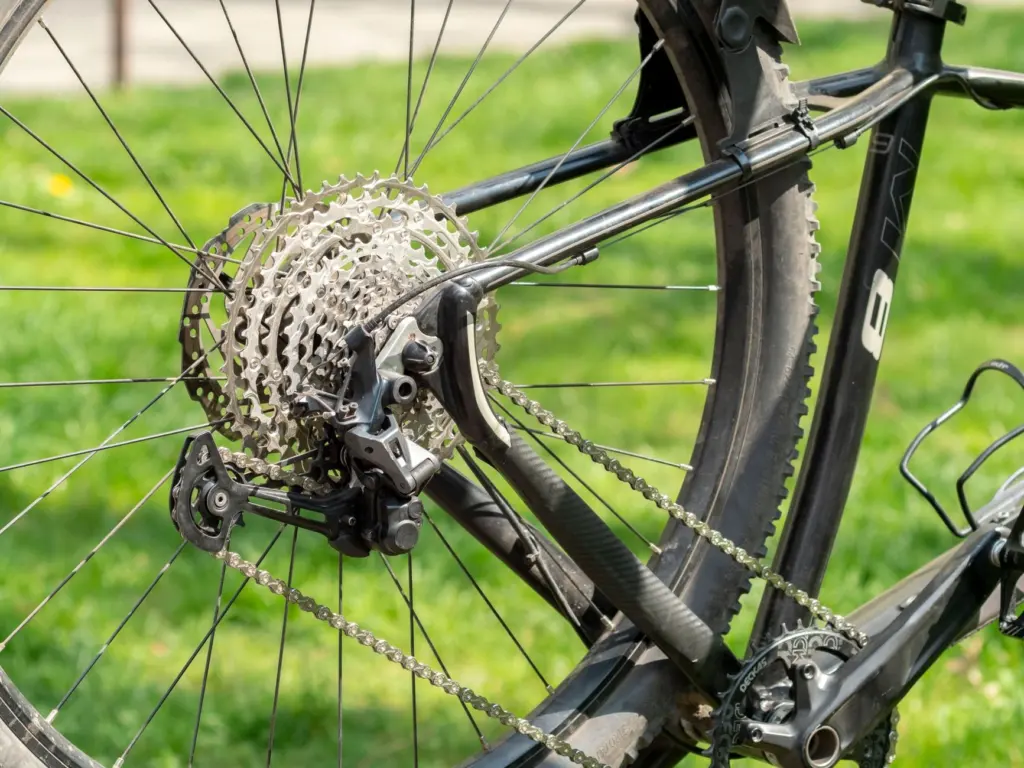
Lay the old wheel down with the cassette facing up.
Step 2: Test the dropout fit with the motor axle
Slide the motor axle into the empty dropouts before touching any other part. The axle should seat fully and square without being hammered or levered, and the wheel should sit centred between the stays. If it will not seat, the dropouts are too narrow or the wrong shape for this motor, and the correct move is to stop and change the motor, the frame or the drive type.
A used motor deserves a quick inspection first. One forum owner who opened a Bafang hub motor reported rust inside, which was sanded and regreased, while the nylon gears were undamaged with no missing teeth. That is one owner’s experience, but it shows why a second-hand motor is worth opening and checking before it carries the bike’s drive.
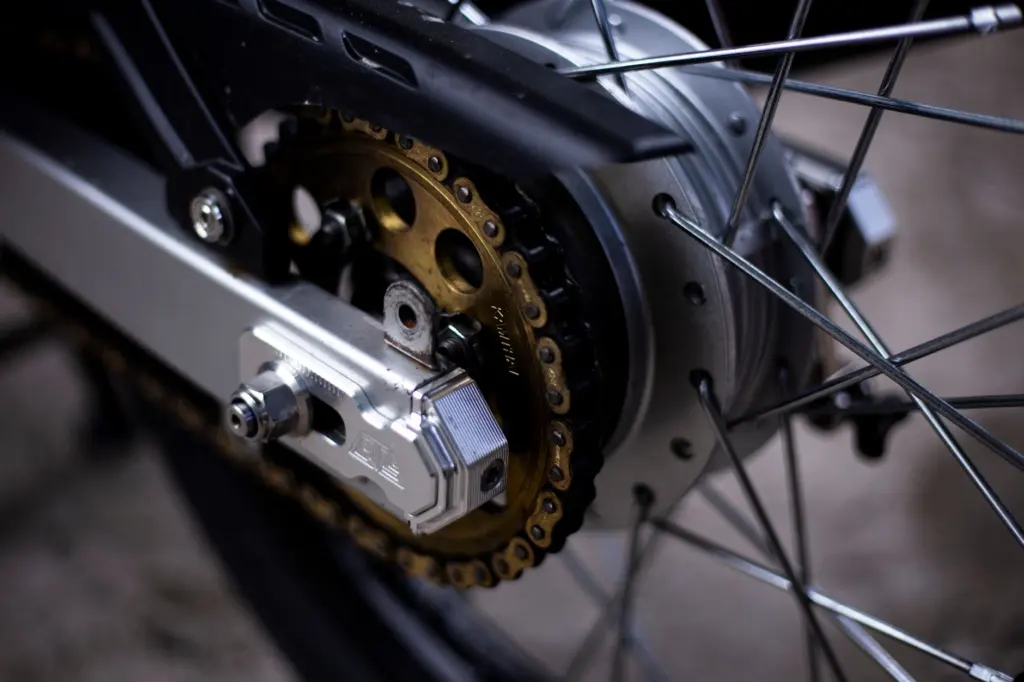
Check for anything on the dropout face, such as chain adjusters, mudguard eyelets or racks, that could stop the axle or torque arm sitting flat.
Step 3: Transfer the cassette or freewheel to the motor wheel
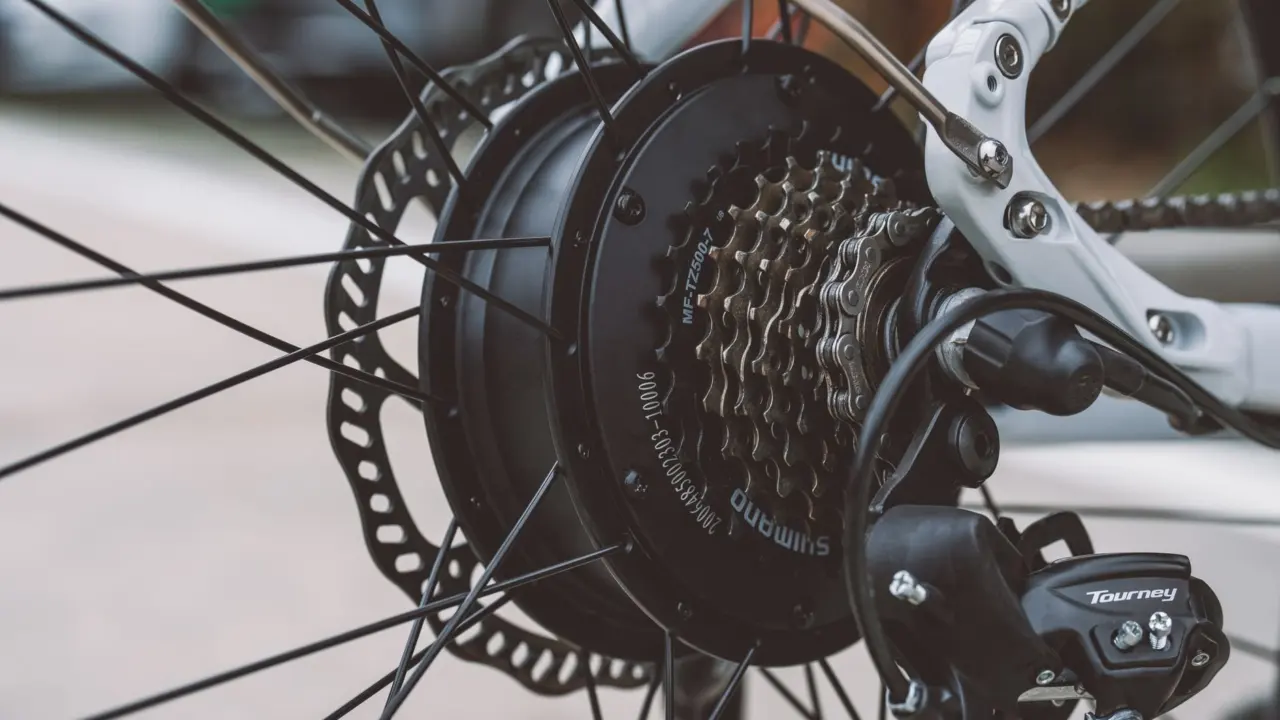
Remove the gear cluster from the old wheel, using a chain whip to hold the sprockets while the lockring tool turns the lockring. Slide the cassette onto the motor’s freehub body in the same order and orientation, then refit and tighten the lockring. For a screw-on freewheel, use the matching remover and thread it onto the motor hub only if the hub is made for that type.
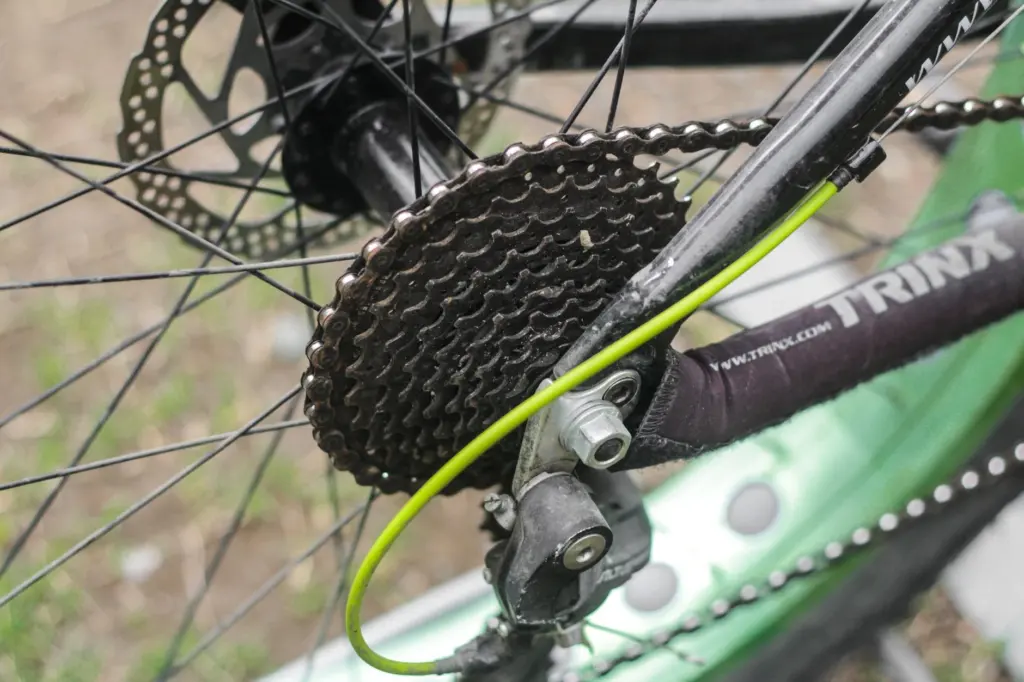
Keep any spacers in the order they came off. A cluster that sits differently on the new hub will shift badly even when everything else is correct.
Step 4: Fit the wheel, chain and torque arm
Thread the chain over the smallest sprocket, then guide the axle into the dropouts with the derailleur pulled back. Add the washers and nuts supplied with the motor, and start both nuts by hand so the wheel stays centred.
Now fit the torque arm. It clamps to the flats on the axle and to the frame so that the drive force is held by the arm, not only by the axle sitting in the dropout slot. Seat it fully on the flats, make sure its mounting point on the stay is solid, and keep it clear of the spokes, the brake and the chain. If the arm will not sit flat, treat that as a stopping condition, not something to bend into place.
Step 5: Tighten the axle nuts
Tighten the axle nuts evenly on both sides while checking the wheel stays centred between the stays. Use the tightening value in your motor manual if it gives one, and a torque wrench where possible. Add any washers the manufacturer specifies, since they spread the clamp load against the dropout.
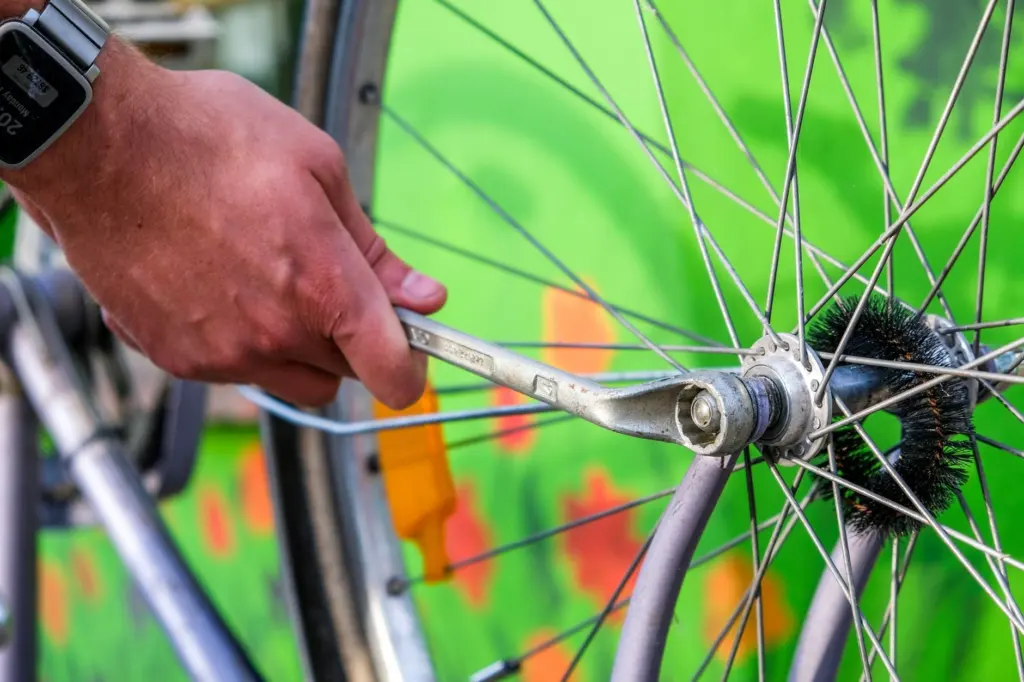
Re-check both nuts after the first short test ride, and again after the first few rides, since new hardware can settle.
Step 6: Route the motor cable and meet the controller
The motor cable exits the axle and carries power and sensor wiring to the motor controller, the unit that regulates what the battery sends the motor. Leave a gentle loop at the axle so the cable is not stressed, then run it along the chainstay and secure it with cable ties clear of the chain, the spokes, the brake and the tyre. Leave enough slack for the wheel to be removed later without cutting ties.
Controller placement is separate from the wheel swap and depends on the kit. One forum owner whose controller failed replaced it with a KT unit mounted on the seat post, which shows that the controller can live away from the motor as long as the cable reaches it. Connect the plugs only with power off, and keep the connectors dry and fully seated.
Step 7: Check alignment and test gently
Spin the wheel by hand and watch it run true between the stays and clear of the brake. Shift through every gear with the wheel in the air to confirm the chain stays on and the derailleur does not rub the spokes. Adjust the rear derailleur limit screws if the new hub sits differently.
Finish with a low-speed test ride on level ground, then stop and recheck the axle nuts, the torque arm and the cable ties before riding normally. If anything clicks, shifts badly or moves, stop and correct it first.
Frequently asked questions
How do I swap a regular rear wheel for a hub motor wheel?
Remove the original wheel, move the cassette or freewheel onto the motor hub, seat the motor axle in the dropouts with a torque arm, tighten the nuts evenly, then secure the cable to the controller.
Do I need a torque arm for a hub motor installation?
Yes. The torque arm ties the axle to the frame, so the drive force does not rely only on the axle flats in the dropout. Fit one that seats fully on the flats of your motor.
Can I reuse my existing cassette?
Usually, if the motor hub takes the same gear-cluster type as your old wheel. Check that the hub uses a cassette freehub or a threaded freewheel before removing anything.
When should I stop the installation?
Stop if the axle will not seat square in the dropouts, if the torque arm cannot sit flat, or if the frame manufacturer does not permit motor use. Choose a different motor or drive type instead.