To learn how to install an ebike conversion kit, work in this order: remove the wheel, fit the motor and torque arm, mount the battery, wire the controller and controls, then test before a slow ride.
This sequence suits any kit type, whether hub or mid-drive. If you have not yet chosen a donor bike or kit, start with the bicycle electric conversion kit guide. If you are still picking a frame, read about the best bike to convert to electric first.
Before you start
A conversion goes smoothly when the bike, the kit and your workspace are matched before any bolt comes off. These prerequisites decide whether the steps below are a quiet afternoon job or a stalled one.
- A kit with the usual parts. Most kits include a motor in the front or rear wheel hub, a battery, a controller, and a throttle or pedal-assist sensor, according to Good Vibes Bikes. Lay everything out and check it against the packing list.
- A hub motor or a mid-drive. A hub motor is built into the centre of the front or rear wheel and is generally simpler to install, often replacing the existing wheel. A mid-drive sits at the bottom bracket and drives the chain through your existing gears, and Gyroor describes its installation as more advanced. If this is your first conversion, a hub kit is the lower-risk choice.
- Matching dropout width. Common hub spacing is 100 mm at the front and 135 mm at the rear, per the same Gyroor guide. Measure the gap between your fork or rear dropouts before ordering or fitting, because a hub that does not fit the gap cannot be forced.
- Brake compatibility. If the bike has rim brakes, confirm the motor hub will not interfere with them. Disc brakes are often easier to accommodate than rim brakes.
- A power rating you can legally ride. Kit motors typically run from 250W to 1000W+, with hub motors the common choice, according to a Gyroor kit guide. Legal limits are often 750W in the US and 250W in the EU, so check local rules against the motor you bought.
- A stand and a clear bench. Having a bike stand is highly recommended, and it keeps both hands free for wiring.
With the bike measured and the parts laid out, gather the tools next.
Tools checklist
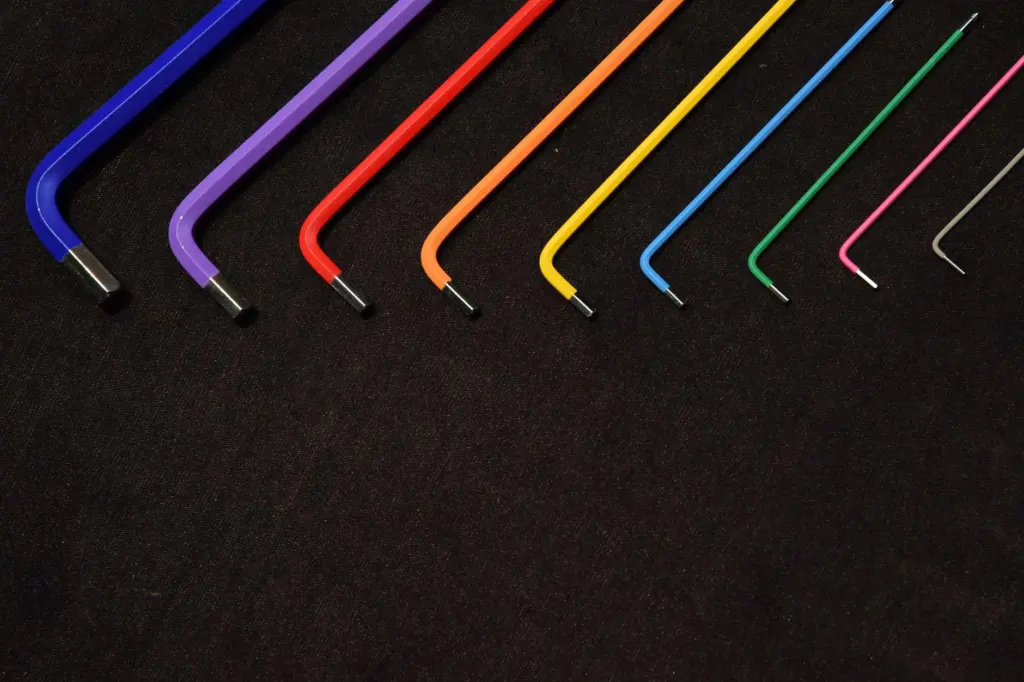
The basic tool kit is short and mostly already in a home bike toolbox. Good Vibes Bikes lists Allen wrenches, screwdrivers and an adjustable wrench, plus tire levers, wire cutters, electrical tape and zip ties.
A hub install also calls for standard bike tools such as wrenches and hex keys, possibly a cassette tool, and patience, according to Gyroor. A mid-drive adds a bottom bracket tool and a crank puller. Torque values for axle nuts and mounting bolts differ between kits, so tighten to the figures printed in your kit manual rather than guessing.
Installation sequence
Follow the steps in order, because later parts depend on the motor and bracket already being in place.
Step 1: Put the bike on a stand and check clearances
Mount the bike securely so the wheels are clear. Recheck dropout width and brake clearance now, since both are far easier to resolve before the wheel is off.
Step 2: Remove the existing wheel
The standard sequence begins by taking off the front or rear wheel, as Gyroor’s kit guide sets it out. On a mid-drive build, this is the stage to remove the cranks and bottom bracket with the bottom bracket tool and crank puller instead.
Step 3: Fit the motor and torque arm
Seat the hub motor in the dropouts, or mount the mid-drive at the bottom bracket. If your kit has a torque arm, install it so the motor does not spin out of place, as Good Vibes Bikes advises. Tighten axle nuts and bolts to the kit manual’s values.
Step 4: Mount the battery
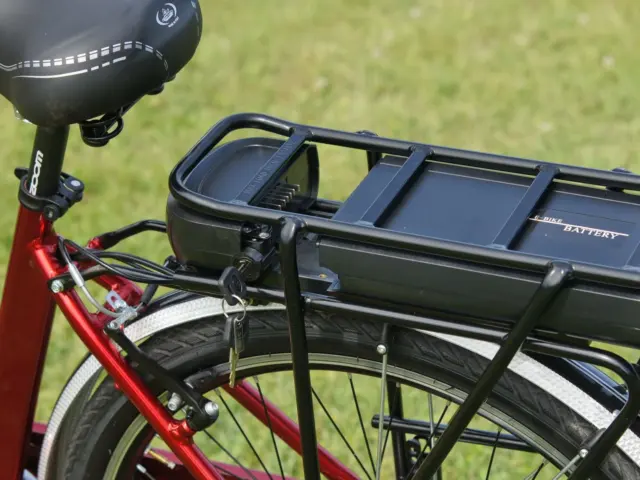
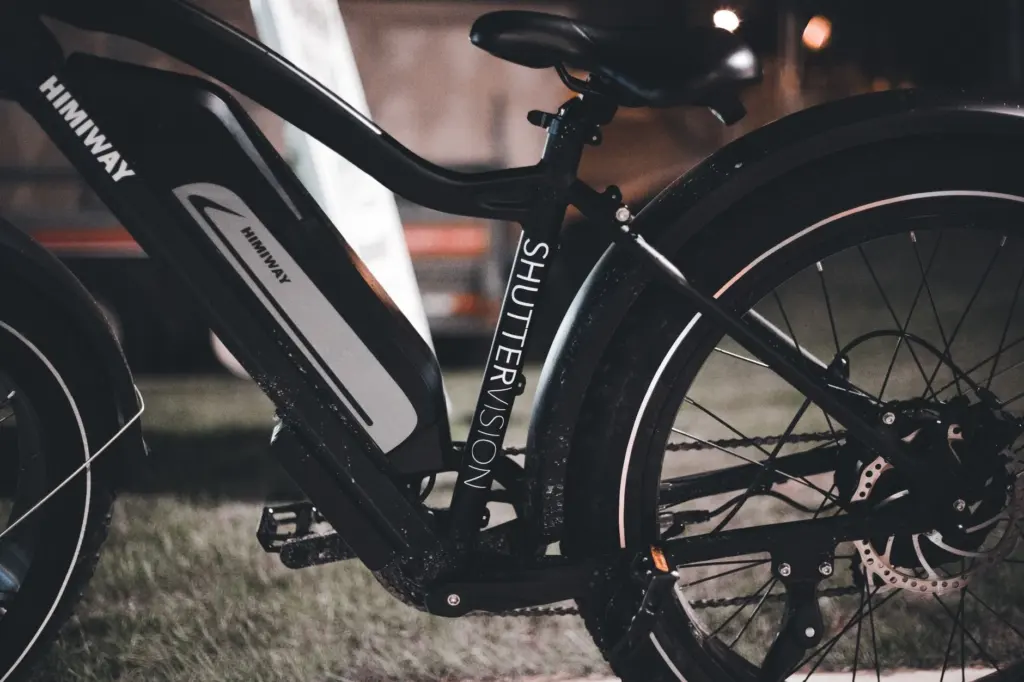
Many kits include a bracket for the down tube or a rear rack. Fix the bracket first, then slide or clip the battery on and confirm it cannot rattle loose. Lithium-ion packs in these kits are commonly 36V to 48V, and a 48V 10Ah pack holds 480Wh, according to Gyroor. The pack’s internal battery management system protects against overcharge, over-discharge and short circuits, so do not open or modify it.
Step 5: Place the controller and cockpit parts
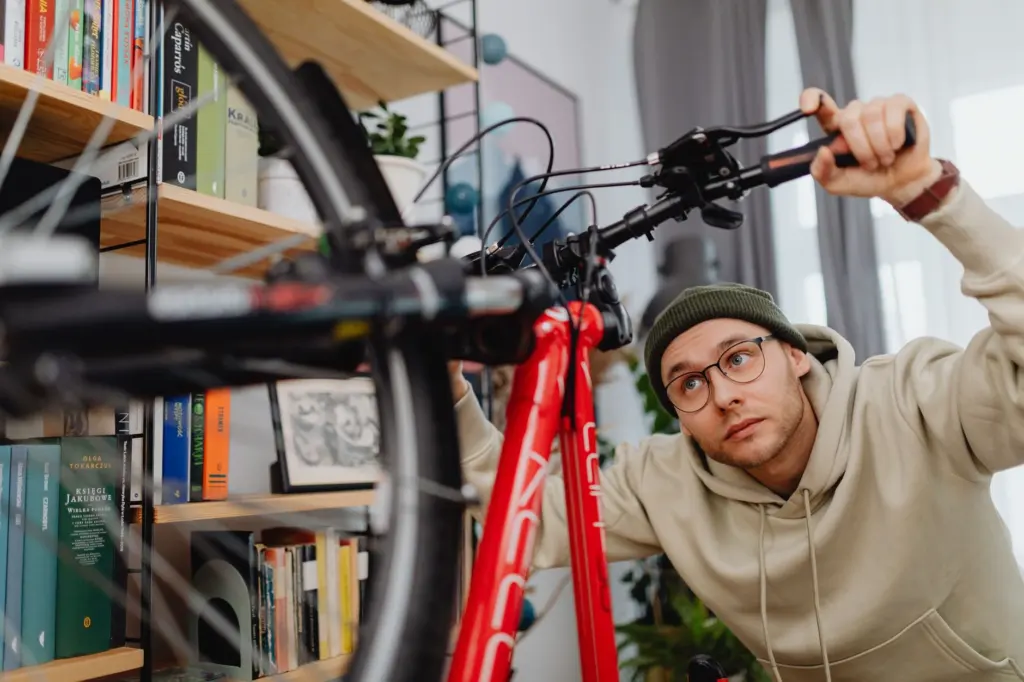
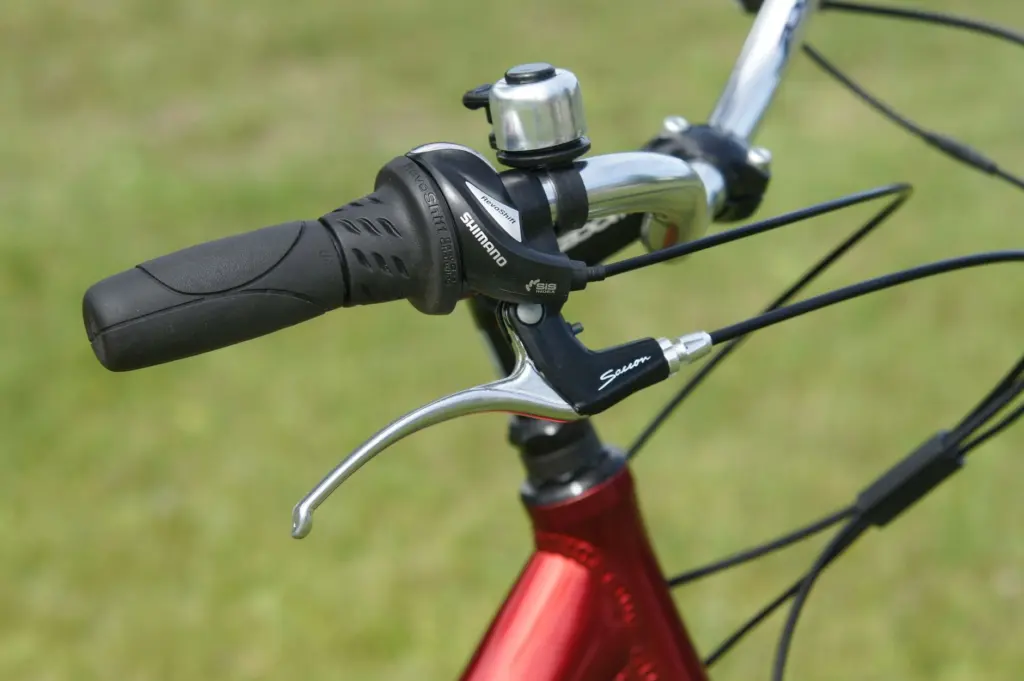
The controller is usually a small box that connects the battery, motor, and throttle or pedal sensor. Choose a spot along the frame where the leads reach every part without strain. Then fit the control you chose: a thumb throttle, or a pedal assist sensor (PAS) that detects pedaling motion and activates the motor. Mount the display and brake cut-off levers at the handlebar.
Step 6: Connect and route the wiring
Follow the wiring diagram supplied with the kit and plug each lead into its matching connector on the controller: motor, battery, throttle or pedal sensor, display and brake cut-offs. Label cables as you go to avoid confusion. Then use zip ties to keep cables neat and clear of moving parts such as the wheel, cranks and steering.
Step 7: Double-check and refit the wheel
Before putting the wheel back on, double-check all connections. Confirm connectors are fully seated and nothing is pinched where the wheel or fork will pass.
Testing before the first ride
Power on the bike and check that every component works, then tighten all nuts and bolts and check the brakes before riding. The motor should respond smoothly without any strange noises, according to Good Vibes Bikes. If it does not, switch off and go back to the wiring step instead of riding on.
Use this checkpoint table as a last pass. When every row is satisfied, take a slow test ride.
| Checkpoint | What good looks like | If it fails |
|---|---|---|
| Connections | All plugs seated and checked before the wheel goes on | Recheck against the kit wiring diagram and your cable labels |
| Power-on test | Display and every component work correctly | Switch off and trace the dead part’s connector |
| Motor response | Smooth response, no strange noises | Stop and recheck torque arm, axle fit and wiring |
| Fasteners and brakes | All nuts and bolts tight, brakes working | Retighten to manual values and adjust brakes before riding |
These checks come from Good Vibes Bikes and Gyroor’s kit guide.
If your kit is a rear wheel hub unit, the detail in how to install a rear hub motor on a bicycle goes deeper on that specific job.
Frequently asked questions
Can a beginner install an ebike conversion kit at home?
Yes, for most hub kits. Most kits come with straightforward instructions for DIY installation, and a basic hub install needs standard bike tools and patience. A mid-drive is more advanced, so beginners are better starting with a hub motor.
How long does an ebike conversion kit install take?
No fixed time applies to every kit. A hub motor is generally simpler than a mid-drive, which needs extra removal of cranks and the bottom bracket. Work through the steps without rushing and check the kit manual for its own estimate.
What battery charge level is best when the bike is not in use?
Batteries perform best when kept between 20% and 80% charge, according to Good Vibes Bikes, so avoid leaving a pack fully drained or fully topped up between rides.